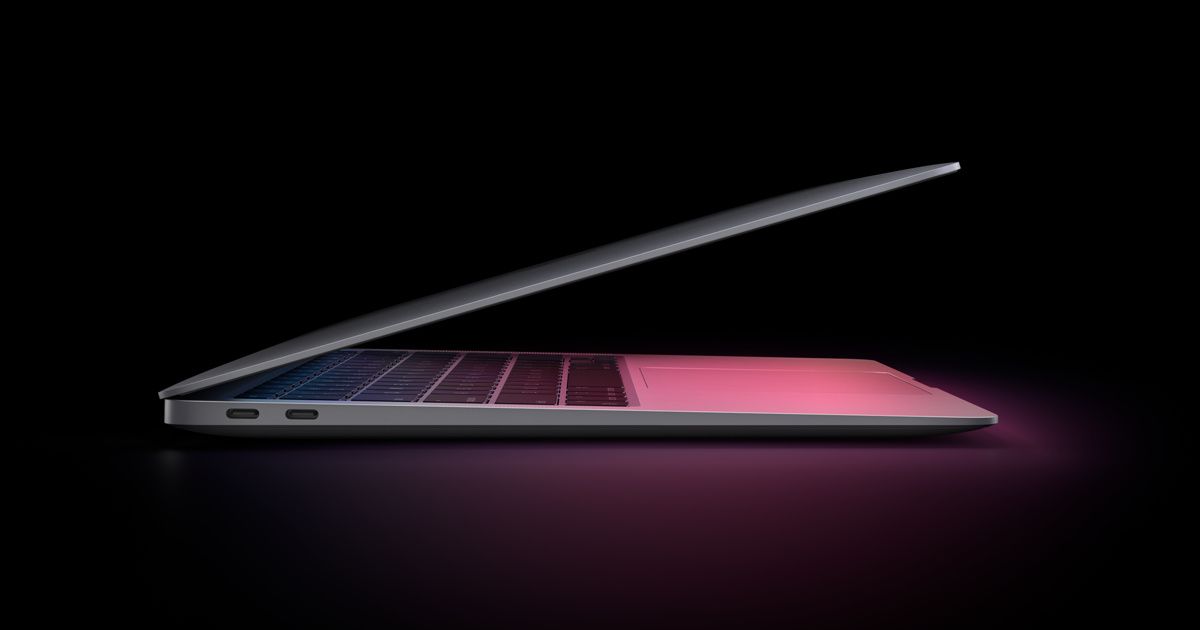
With more people working online, knowing how to take screenshots on your Apple Mac has become essential knowledge. Screenshots are now widely used when you want to quickly share with others exactly what you’re seeing on your screen over the internet and taking such screenshots can be extremely helpful.
A screenshot, as can be inferred, is a still image of the current state of your screen, which may be displaying icons, or some open application and then saving it as an image.
The Mac, however, does not have a direct option for taking screenshots, which is why given below are details of how you can take a picture of the entire screen, a window, or just a portion of the screen on your Apple Mac.
All screenshots taken will be labelled as the time and date on which the image was taken.
For capturing the entire screen
1. In order to take a snapshot of your Mac, which covers the entire screen, press and hold down the following keys together – Shift, Command, and 3.
2. This shortcut command will take a screenshot of your screen, following which you will then be able to see a small image of the screenshot in the corner of your screen.
3. In case you want to edit the screenshot, crop or add text to you, clicking on the image will open up the edit tool. Alternatively, you can just wait and the screenshot will be saved to your desktop.
To capture a portion of the screen
1. If you want to take a screenshot of only certain parts of your screen, you can press and hold down the following keys together – Shift, Command, and 4.
2. Doing so will convert your mouse cursor into a small crosshair, and you can now drag the crosshair symbol to select a portion of your screen to capture.
3. In case you want to move or shift your screenshot, simply press and hold down the Spacebar while dragging the selected area.
4. If you want to cancel the screenshot, press the Escape key.
5. Once satisfied with the screenshot, release the mouse button or trackpad to take the shot. Again a small image of the screenshot will appear at the bottom of your screen. You can click it to edit the taken screenshot or wait for it to be saved to your desktop.
To capture a window or menu
1. Firstly, open up the window or a particular menu of which you want to take a screenshot.
2. Now, press and hold down the following keys together – Shift, Command, Spacebar and 4.
3. Your mouse pointer will have transformed into a camera icon 📷.
4. Now click on the window/menu you want to capture. In case you want to avoid picking up the window’s shadow, just hold down the Option key.
5. Lastly, you can click on the final image of the screenshot to edit or wait for it to be saved to your desktop.
To take a screenshot of your Touch Bar
1. For users with a Macbook having a Touch Bar, you can also take a screenshot of the Touch bar screen itself to capture what it’s showing.
2. Hitting the command, shift and 6 keys together lead you to take a screenshot of your Touch Bar.
All screenshots taken on your Apple Mac will be saved on your Desktop by default. In case you want to change the location where the screenshots are saved, press and hold down Shift + Command + 5, to open the Screenshot bar.
Next, head over to the ‘Options’ menu, where you can choose certain preset locations like the Documents folder or Other Location where you can specify a folder of your choice.


