Ever worried about losing your precious Apple iPhone data? A malfunction, accidental deletion, or even theft can leave you scrambling. Fear not! Backing up your iPhone regularly ensures you have a safety net. This guide explores two methods for backing up your iPhone: iCloud and your computer (using iTunes or Finder).
Using iCloud Backup

Note: iCloud provides only 5GB of free storage. If your backup requires more space, you might need to purchase additional iCloud storage or manage your backup size by choosing what to backup.
To enable daily automatic backups with iCloud, follow these steps:
1. Connect to Wi-Fi: Ensure your device is connected to a Wi-Fi network.
2. Open Settings App: Go to the Settings app on your Apple device.
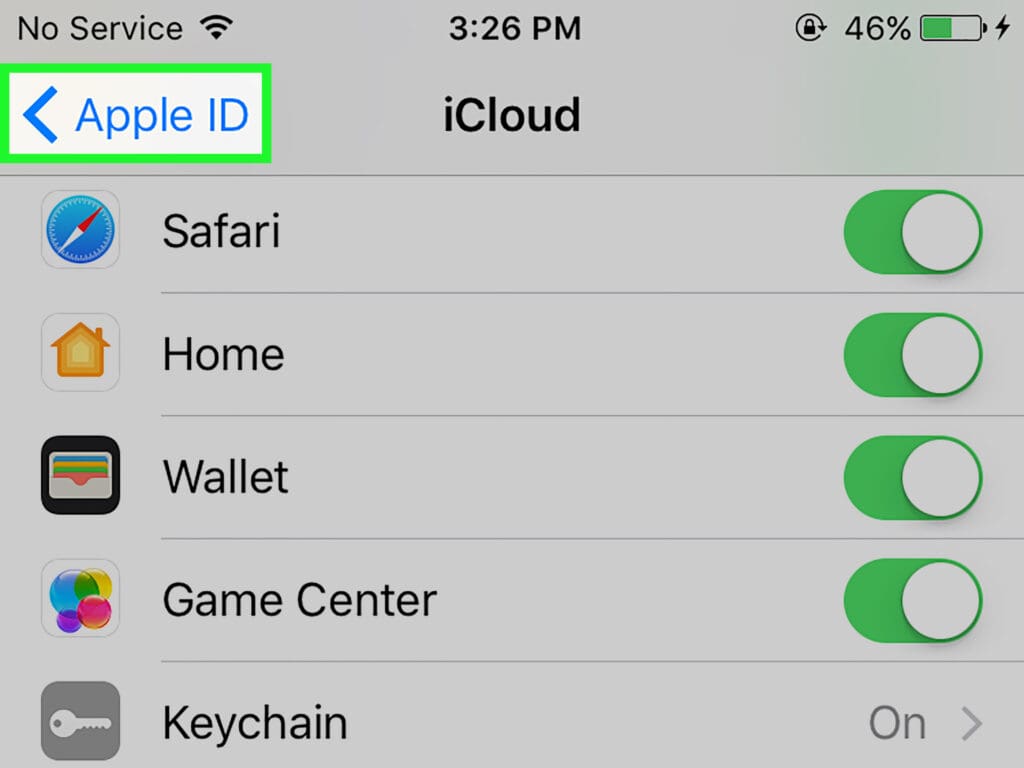
3. Access Your Apple ID: Tap on your name/profile at the top of the settings menu to access your Apple ID settings.
4. Navigate to iCloud: Select “iCloud” from the list of options.
5. Select iCloud Backup: Scroll down and tap on “iCloud Backup.”
6. Enable iCloud Backup: Toggle the “iCloud Backup” option to the ON position if it isn’t already. When this is on, your device will automatically backup files daily when connected to Wi-Fi, plugged into a charger, and locked.
7. Perform a Manual Backup (Optional): To immediately backup your device, tap “Backup Now.” Keep your device connected to Wi-Fi during this process.
Using iTunes (for macOS Mojave or earlier and Windows) or Finder (for macOS Catalina and later)
If you prefer to backup using your computer, follow these steps:
For iTunes:

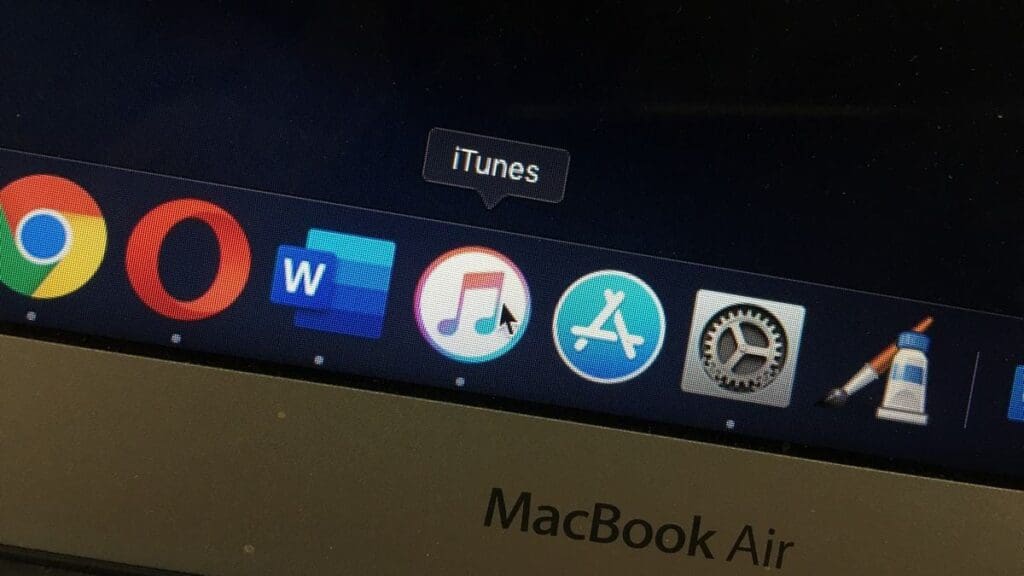
1. Open iTunes: Connect your device to your computer and open iTunes.
2. Select Your Device: Click on the device icon in the upper-left corner of the iTunes window.
3. Choose Backup Method: Under the “Backups” section, choose “This computer” for the backup location. Check “Encrypt local backup” if you want to include account passwords and health data.
4. Backup Now: Click “Back Up Now” to start the backup process.
5. Safely Remove Your Device: Once the backup is complete, you can eject your device from iTunes and disconnect it.
For Finder (macOS Catalina and later):

1. Connect Your Device: Use a cable to connect your device to your Mac.
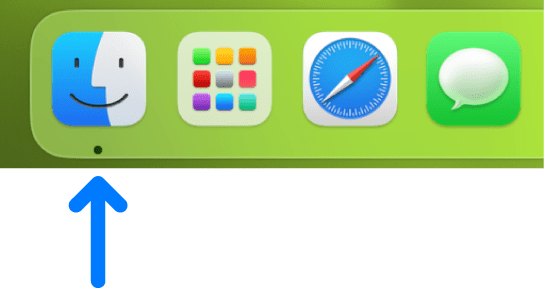
2. Open Finder: Your device will appear in the Finder sidebar. Select it.
3. Trust the Device (If First Time): If prompted, trust your device.
4. Select Backup Options: In the button bar, select “General.” Choose “Back up all of the data on your iPhone to this Mac.” To encrypt your backup and protect health and activity data, select “Encrypt local backup.”
5. Back Up: Click “Back Up Now” to start the backup process.
6. Eject Your Device: After the backup, safely eject your device from Finder.
Note: Regularly check that your backups are happening as expected. For iCloud, you can see the date and time of the last backup in the iCloud settings.
For iTunes/Finder, you can see it on the device summary page.
- Manage Storage: Regularly manage your iCloud storage to prevent running out of space, especially if you’re using the free 5GB plan. Consider deleting unnecessary backups or upgrading your storage plan.
- Wi-Fi and Power Connection for iCloud: For automatic daily backups to iCloud, ensure your device is connected to Wi-Fi and power overnight or during a time you’re not using it.
Conclusion
With a regular backup routine in place, you can breathe easy knowing your valuable iPhone data is safe from accidental loss, theft, or hardware failure. Choose the method that best suits your needs, whether it’s the convenience of automatic iCloud backups or the control offered by a computer backup. Remember to check your backup status regularly and manage your storage to ensure smooth sailing. By following these steps, you’ll be well on your way to protecting your precious iPhone data.


