Google recently launched Chrome OS Flex, a new version of its Chrome OS for Windows PCs and Mac devices.
What is Chrome OS Flex?

The Chrome OS Flex is a free-to-use operating system by Google that helps enterprises or day to day users set up a new and lightweight operating system, in a bid to recycle devices in an environmentally friendly manner.
Google acquired Neverware the developer of CloudReady back in 2020, which aimed at modernizing old PCs using Chromium OS. Since then, Google has meshed the benefits of Cloudready into the newest version of the Chrome OS. The Chrome OS Flex also boasts of running smoothly on computer systems that are ten-thirteen years old.
In comparison with the existing Chrome OS:
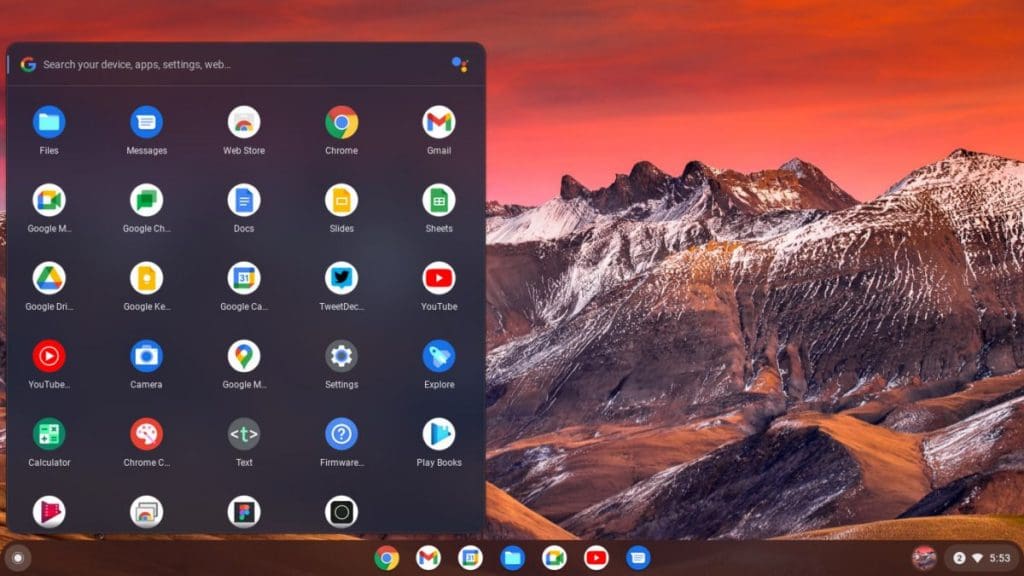
The Chrome OS Flex is very similar in appearance to the Chrome OS, built from the same codebase and does almost everything the Chrome OS can, with a few exceptions.
Flex does not yet support native Android applications in its early access, but the product is still in its initial stages, and according to Google, the Flex OS will get similar upgrades as the Chrome OS.
Thomas Riedl who is currently Google’s director of enterprise and education products talked about the Chrome OS Flex stating that users “get this opportunity to refresh your PCs and Macs with our fast and secure operating system”, while at the same time, they also get to try new hardware that can fit their needs.
Undoubtedly the installation process is a bit tough for first-time users who’re booting a new OS on their PC. Users will have to go into their BIOS and configure their machine to boot from a USB drive.
Chrome OS Flex Installation Guide:

In order to install the Chrome OS Flex, make sure you have to minimum requirements needed to run Chrome OS Flex, listed below:
1. A USB pen drive with at least 8GB or more storage.
2. Either an Intel or AMD x86-64-bit processor.
3. A minimum of 4GB RAM or more.
4. The PCs Internal storage must be at least 16GB.
Here’s how to install the Chrome OS Flex on your existing desktop or laptop:
1. Open Google Chrome and download the Chromebook Recovery Utility extension from the Chrome Web Store. Link: https://chrome.google.com/webstore/detail/chromebook-recovery-utili/pocpnlppkickgojjlmhdmidojbmbodfm
2. Open up the Chromebook Recovery Utility and make sure your USB is plugged in before clicking on “Get Started”.
3. Under “Select a manufacturer”, choose “Google Chrome OS Flex” and from the dropdown that follows, select the “Chrome OS Flex (Developer-Unstable)” version.
4. Select your desired USB drive and then click on “Create now” which will create a bootable pendrive with the Chrome Flex OS installed.
5. Next, reboot your PC and enter into the BIOS menu by pressing your laptop’s boot key. You can access this list for your laptop’s boot key. Link: https://www.disk-image.com/faq-bootmenu.htm
6. Select your USB drive from the list of options and press Enter.
7. A new screen with “Welcome to CloudReady 2.0” will pop up. Simply follow the instructions on the screen to complete the installation of your new Chrome OS Flex.
Conclusion
Undoubtedly, the Chrome OS Flex is a superb way to breathe life into your old and outdated desktops, and the experience will only get better as Google continues to develop and improve the Flex OS in the future.


